
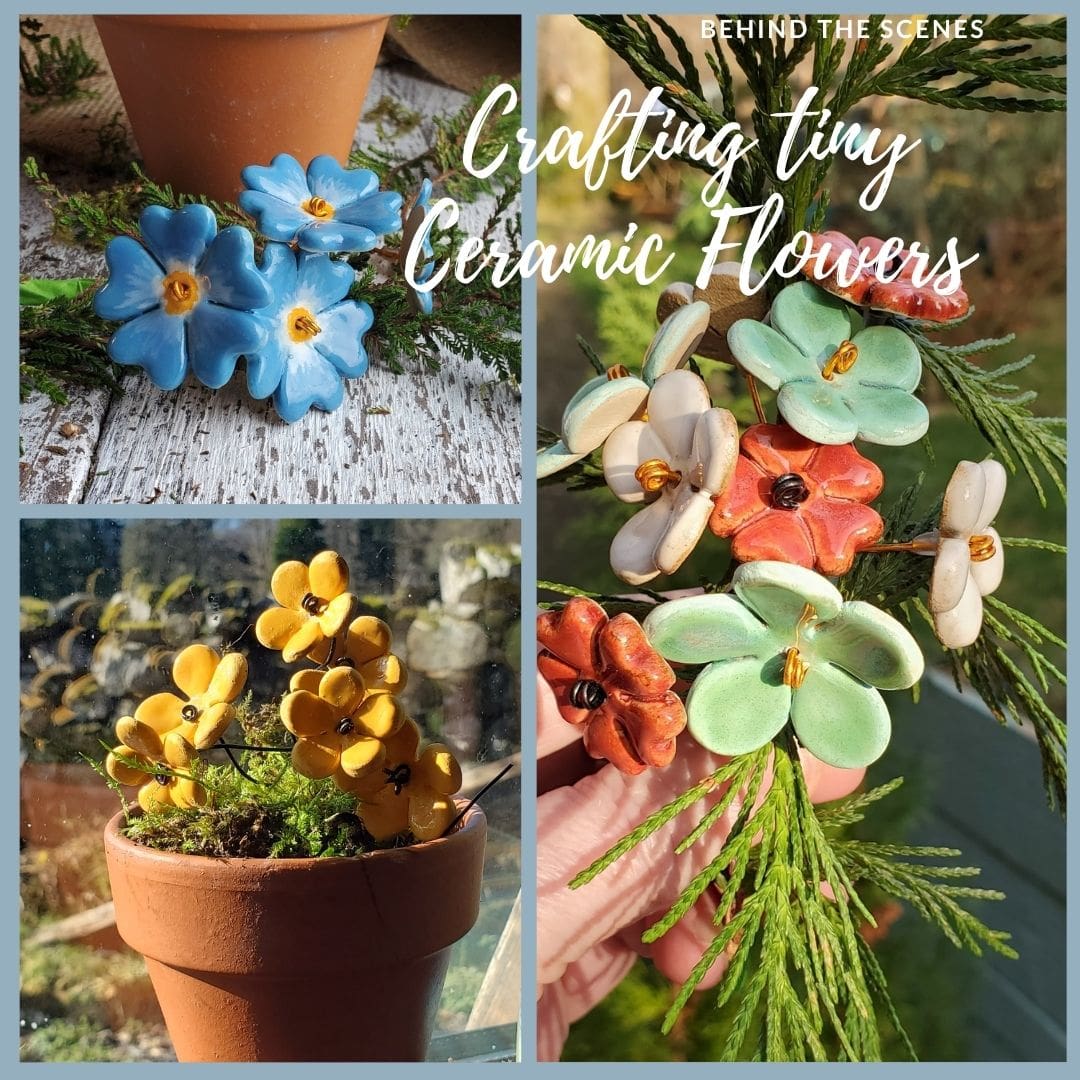
Our little ceramic flowers are a labour of love and thought it would be fun to share the process with you.
There are a few steps missing as I really am rubbish at taking pictures while I am working.
Once I get into my happy zone, picking up the camera is the last thing on my mind but I did manage to grab a few.

After rolling out a thin slab from a block of clay, it is left to firm up a bit before the next step.
Once the clay is no longer sticky, I add a layer of cling film before cutting out the flower shapes. This helps with bevelling the petals and prevents the clay from sticking to the cutters.
I cut lots of flowers, and I mean LOTS, because quite a few will not survive the various steps. It’s the nature of ceramics.
Each little flower gets cleaned with a damp sponge to remove uneven edges from the cutting process. The are left to dry completely before being fired in the kiln.
Filling the kiln is a delicate process as these flowers are super fragile in their bone dry state, so each one is carefully placed onto the one underneath.

After the bisque firing they are a bit more robust but still easily broken, so we continue the glove treatment when unloading the kiln 🙂
Before the fun can start, the flowers get another check, and any rough spots are sanded before all of them get the spa treatment. With other items, I would clean off the kiln dust with a damp sponge but because there are so many of these, I dip them in a bowl of water and let them dry completely before they can be glazed.

This is the first fun bit! Deciding on which colours and glazes to use and then paint each flower with 3 layers of glaze. If there are coloured centres, that’s another 3 layers of that as well. 3 is the magic number here.
Glazing is a fun thing of striking the right balance between just enough layers to get the right effect, and not too thick of an application to prevent the glaze from popping off during the firing. It requires a lot of trial and error and experience to get it right and even then, the kiln gods may have a bad day.

They are now ready for the second firing to a “balmy” 1220°C, which vitrifies the clay and melts the glaze into a shiny glass layer. Because of this process, when loading the kiln, all flowers need to be a few millimetres apart. If they touch, the melting glaze will fuse them together. (Loading this kiln took well over an hour.)
This is also the stage when they shrink the most. My clay has a 12% shrinkage rate.

Yeah!!! Dante did his magic! There is nothing like opening a kiln! Each time, you open the lid it comes with an equal measure of trepidation and excitement. This time, it was a good one!


They’ve been “strung” onto coated metal wires and put together in little bunches. Some in single colours, other in mixed bouquets. Which do you prefer? Let us know!

And if you now feel like having some of these keepsake bouquets on your desk, don’t let me stop you 🙂 They are available from our “garden centre”: (click on the picture to take you there)

I hope you liked learning a bit more about these little quaint flower posies.
Thank you for reading 💐☺️🌺
Chris